From an early age we’re taught the importance of keeping our shoelaces tied, and if we didn’t listen to this advice we quickly learned why it is not safe to run around with untied laces. Tripping hazard aside, tying your shoelaces is very important as it affects how your footwear fits and functions. Different lacing techniques benefit different foot types. Here are some guidelines to help you determine which technique is best for you:
Standard Feet
If you have standard-sized feet and don’t suffer from any foot issues, the traditional criss-cross lacing technique will likely be most appropriate for you as it will hold your feet snugly in place in your shoes. For this technique to be effective, you need to pull your laces securely, starting with the eyelets at the toe of the shoe and working your way up towards your ankle. If you use the criss-cross technique but continually leave your laces tied so your shoes are loose enough to slip into, the benefits of the technique will be lost and your shoes will not provide the support they are designed to, even if they are the correct size.
Narrow Heels
If your heel slips in the back of your shoes, you can keep it in place by using a lock lacing technique which tightens the shoe around the heel and ankle, preventing your heel from slipping. To do lock lacing, simply lace your shoes as normal to the second from the top set of eyelets. Then, instead of running your laces across the shoe, thread each straight up through the eyelet above it. Next feed each lace through the vertical loop between each of the top two eyelets opposite from each other and tie the laces as normal. This video shows how to do lock lacing.
Wide Feet
If you have wide feet, you’ll want to make as much space as possible in your shoes for your feet. To maximize space, lace your shoes using the eyelets that are nearest to the ankle, leaving the eyelets closest to your toes empty. This will allow you to tighten the laces properly without restricting the space across the front of the shoe where the foot is widest.
High Arches
If you have high arches, the top of your feet may become rubbed by the tongue as your arches force your foot against the top of your shoes. To reduce the risk of this, try gap lacing which minimizes the pressure on the top of your foot but still ensures your shoe fits securely. To do gap lacing, simply lace your shoes using the traditional criss-cross technique until you reach the middle of the shoe or the area of your foot which is being rubbed. Instead of continuing the criss-cross pattern, thread the laces directly into the eyelet above them and then continue criss-crossing up the rest of the shoe. This video shows you the gap lacing technique.
Lacing Tips
Regardless of the shape and size of your feet, these lacing tips will help ensure you get maximum benefit from your shoes:
- Always loosen your laces before you put your shoes on. Forcing your feet into shoes with tied laces will stress the eyelets and the backs of the shoes, creating unnecessary wear.
- To get the best fit, always start lacing your shoes at the eyelets closest to your toes and tighten the laces one set of eyelets at a time.
- When buying shoes, select shoes that have the most eyelets. This will enable you to easily adjust the laces to ensure the shoe best fits your foot.
- Remember to adjust your laces throughout the day. Feet expand with activity and temperature so you’ll need to loosen your laces as the day progresses.
- When lacing your shoes, make sure the laces are lying flat as twisted laces may rub the tops of your feet.
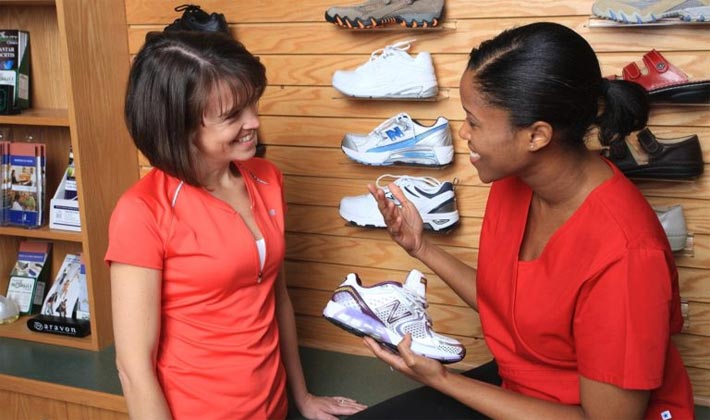
Canadian Certified Pedorthists are footwear experts. If you’re not sure which lacing technique is best for you, ask your Pedorthist at your next appointment.
By Heather Orosz, C. Ped (C), Calgary, AB
